Finding the perfect balance between convenience, cost, and flavor is the ultimate goal for any traveler. Enter Onigiri Art: The Easiest and Most Affordable Travel Lunch Ever. These iconic Japanese rice balls are more than just a quick snack; they are a portable masterpiece designed for life on the go. Whether you are hiking a mountain trail or navigating a busy airport, onigiri provides a filling, nutritious meal that requires no silverware and minimal cleanup. In this guide, we will explore why these versatile rice triangles are the ultimate travel companion and how you can master the art of making them yourself.
1. The Ultimate Portability
Onigiri is designed for one-handed eating. Unlike sandwiches that can get soggy or salads that require forks, these compact rice balls hold their shape perfectly. They fit into small containers or even pockets, making them the most efficient meal for travelers on a tight schedule.
2. Budget-Friendly Ingredients
At its core, onigiri relies on short-grain rice, which is one of the most affordable pantry staples globally. Even when adding premium fillings like tuna or pickled plum, the cost per serving remains significantly lower than buying a standard takeout meal or airport sandwich.
3. Long-Lasting Energy
The complex carbohydrates in Japanese short-grain rice provide sustained energy release. This makes onigiri an excellent choice for physically demanding travel days, such as city walking tours or long hikes, keeping you full and focused without a sudden sugar crash.
4. Naturally Gluten-Free
For travelers with dietary restrictions, onigiri is a safe and reliable option. Since the primary ingredient is plain rice and most traditional fillings are naturally gluten-free, it eliminates the stress of searching for specialized restaurants while you are exploring a new destination.
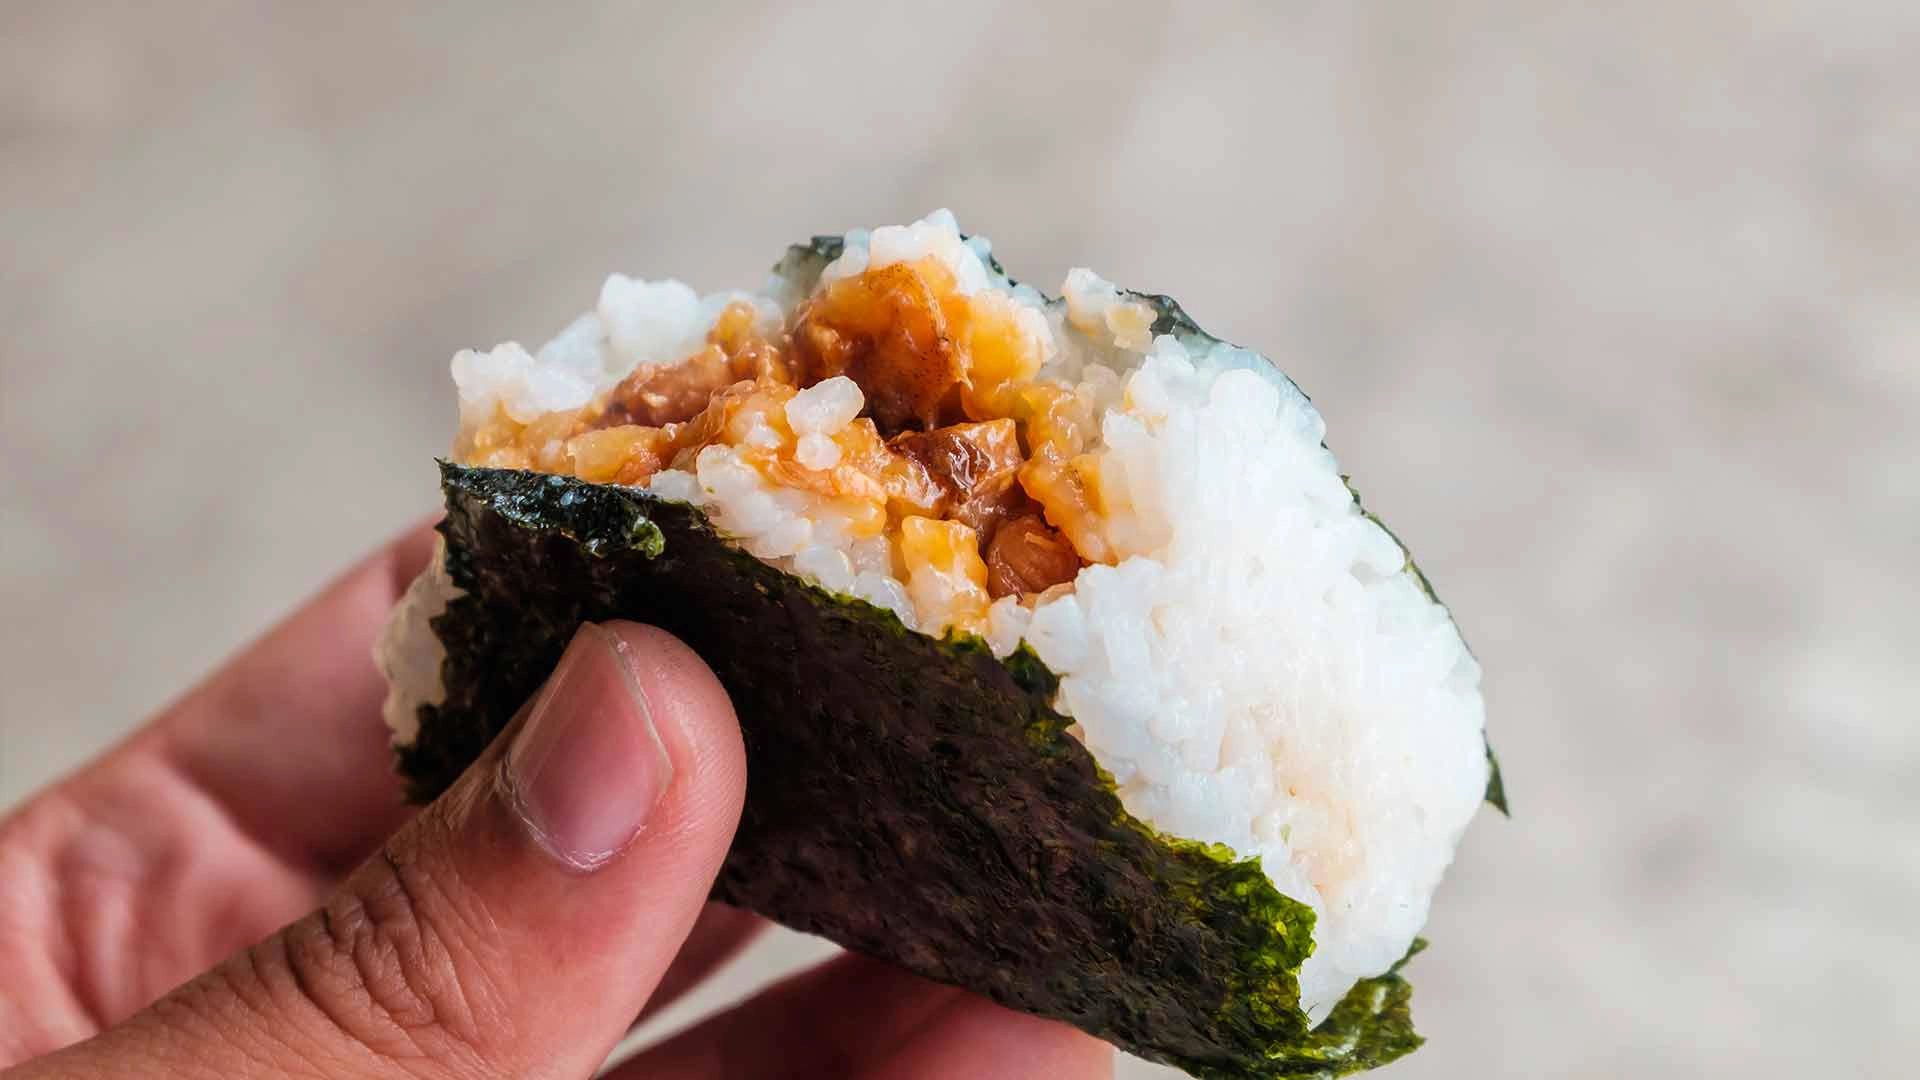
5. The Role of Nori
The dried seaweed wrap, or nori, isn’t just for flavor; it acts as a functional handle. It keeps your hands clean from the sticky rice while adding essential minerals like iodine and a satisfying crunch that contrasts beautifully with the soft interior.
6. Traditional Umeboshi Filling
Umeboshi, or pickled plum, is a classic choice for travel. Its high acidity acts as a natural preservative, helping the rice stay fresh longer at room temperature. The sharp, salty-sour flavor profile is also incredibly refreshing during a long, tiring journey.
7. Savory Tuna Mayo
Tuna mixed with a little Japanese mayo is a fan favorite. It provides a familiar, creamy texture and a punch of protein. To keep it travel-safe, ensure the mayo is well-mixed and the onigiri is consumed within a few hours of preparation.
8. Salted Salmon Flakes
Grilled, salted salmon is a protein-packed filling that adds a sophisticated touch to your lunch. The saltiness seasons the rice from the inside out, creating a balanced bite that feels like a complete meal rather than just a light snack.
9. Vegan-Friendly Options
Onigiri is incredibly easy to make vegan. Fillings like seasoned kombu (seaweed), fermented soybeans (natto), or even simple salted cucumber provide delicious plant-based variety. It is a foolproof way to ensure you always have a vegan meal ready while traveling.
10. The Importance of Proper Rice
You must use Japanese short-grain rice (sushi rice) to succeed. Long-grain varieties like Basmati or Jasmine lack the starch content needed to stick together. Proper rice ensures your “art” doesn’t crumble into a pile of grains the moment you take a bite.
11. Seasoning the Water
For the best flavor, season your rice water with a small piece of kombu or a pinch of salt before cooking. This builds a foundation of umami that makes the rice taste delicious even if you decide to go with no filling at all.
12. Mastering the Triangle Shape
While you can make rounds, the triangle is the gold standard for onigiri art. Using your palms to create an angled “roof” shape allows for even compression. This structure is sturdy enough to withstand being tossed around in a backpack.
13. Using Onigiri Molds
If you struggle with hand-shaping, inexpensive plastic molds are a lifesaver. They ensure consistent size and density, which is helpful when you are meal-prepping a large batch for a group trip or a week-long road adventure.
14. Salt Your Hands
A pro tip for hand-shaping is to dampen your hands with salted water. This prevents the rice from sticking to your skin and provides a light, even seasoning to the exterior of the rice ball, enhancing every single mouthful.
15. The “Hidden” Filling Technique
When placing your filling, make a small indentation in the center of the rice. Close the rice around it completely. This protects the filling from the air and ensures that every bite features a perfect ratio of rice to “treasure.”
16. Wrapping for Freshness
To keep the seaweed crisp, wrap it separately in plastic wrap or use special onigiri wrappers. Only combine the nori with the rice right before you eat. This maintains that iconic “snap” that defines high-quality onigiri art.
17. Furikake for Extra Flare
If you want to skip the filling, mix furikake (Japanese rice seasoning) directly into the rice. These blends of sesame seeds, dried fish, and herbs add vibrant color and intense flavor, making your travel lunch look as good as it tastes.
18. Temperature Safety
While onigiri is often eaten at room temperature, it is important to let the rice cool slightly before wrapping. Trapping steam inside a container can make the rice mushy and shorten its shelf life during your travels.
19. A Sustainable Meal
Onigiri is an eco-friendly choice. By making your own, you avoid the heavy plastic packaging associated with store-bought lunches. Wrapped in beeswax wraps or reusable containers, it is a “zero-waste” meal perfect for the conscious traveler.
20. Cultural Connection
Eating onigiri connects you to a centuries-old Japanese tradition. It is a meal rooted in the concept of “musubi,” which means “to tie together.” Sharing onigiri with travel companions is a beautiful way to bond over a simple, handcrafted meal.
SEO Meta Description
Discover why Onigiri Art is the easiest and most affordable travel lunch ever. Learn tips for fillings, shaping, and packing this perfect, budget-friendly meal.
Focus Keywords
- Onigiri Art
- Affordable travel lunch
- Japanese rice balls
- Portable meal ideas
- Easy onigiri recipes
- Travel food tips
- Budget travel snacks
FAQ Section
Q: How long does onigiri stay fresh while traveling? A: If kept in a cool, shaded place, onigiri is best consumed within 4–6 hours. Using acidic fillings like umeboshi can help extend its freshness slightly.
Q: Do I have to use seaweed? A: No! While nori is traditional, you can wrap onigiri in shiso leaves, thin omelet sheets, or simply leave them plain with a coating of sesame seeds.
Q: Can I freeze onigiri for later? A: Yes, you can freeze plain or filled onigiri (without the nori). Wrap them tightly in plastic wrap. To eat, microwave them until warm to restore the soft texture of the rice.
Internal Linking Suggestions
- Top 10 Healthy Airplane Snacks to Pack: A guide on nutritious foods that pass security and stay fresh.
- The Beginner’s Guide to Japanese Pantry Staples: Explore the essential ingredients needed for authentic home cooking.
- Meal Prepping for Road Trips: How to save money and eat well while driving long distances.
Conclusion
Mastering Onigiri Art is a game-changer for anyone looking for the easiest and most affordable travel lunch ever. These rice balls are incredibly versatile, allowing for endless creativity with fillings while remaining kind to your wallet. By following these tips on shaping, seasoning, and storage, you can enjoy a delicious, healthy, and portable meal no matter where your journey takes you. Would you like me to create a step-by-step recipe for a specific onigiri filling?
Leave a Reply